Continuing on the thread of projects, my ultimate goal is to build a two station weather station that has in interior display of inside and outside temperature, and outside humidity/temperature readings, ultimately logging it to one of my websites, and then displaying it in graphical form.
This weekend, I got a little bit closer. I learnt how to hook up an LCD display to an Arduino system, how to display formatted data, and then connected two different sensors to gather the data.
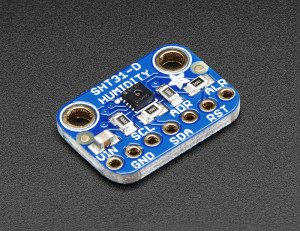 The first test was to hook up a Sensiron humidity and temperature sensor to the arduino. Fortunately, Adafruit makes a handy breakout board for this device, and some libraries to use it. As an i2c device, it has a lot of support, and connecting it was a snap. Supply 5V, and connect the SDA/SCL and you are good to go.
The Sensiron sensor is what we use in the chamber of our 7500 series AFM, so I know it is accurate and reliable.
The sketch is pretty simple, you load the libraries for the SHT series, and instantiate an instance of the device, and it just works. You ask for a reading, and BAM it is there for the using.
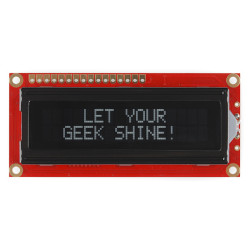 The second part was connecting the 2×16 character LCD display. This has a little backpack decoder, and the Arduino IDE has built in support for it. Piece of cake to get it going.
It is of course a little trickier than the serial console, as the print/println aren’t part of the methods, but a little character counting, and voila, it was displaying the RH and Temperature every 10 seconds.
To test this, I programmed, it, and then unplugged it, taking it into the kitchen, plugging it into a USB charger, and it worked. I am almost impressed!
This is a pretty big hurdle, but the next hurdle is a lot taller. Ultimately, I want to have it log data to a file, then send it to a small raspberry pi system to display, and to upload to the internet.
My next step will be to build a simple data logger, and begin to finalize the sensors I will use for the remote system. Fortunately, there is built in support for SD cards (although I will need a breakout board to connect), and I have both a DHT22 sensor for raw humidity and temperature readings, and a Bosch BMP180 breakout board for barometric pressure and temperature reading.
Exciting, and rewarding.
But the progress is ongoing, and my shopping cart is filling up with goodies to buy…